Visitor Side: Navigating events and watching livestreams
Difference between standard and premium events
To start exploring events, select “Events” from the sidebar. This will lead you to the overview page of all events that are offered on an Expo. Here you will find primarily 2 different types of events:
Standard events
These events are completely free of charge for every visitor that has been invited to an Expo.
Premium events
These are exclusive events for which a visitor must purchase a separate ticket via an external provider. When clicking on a premium event, a module opens with 2 options. The first option is an input field, where the visitors can enter their ticket-ID to unlock the event. The second option is to click the button “Buy Now”. This will redirect the visitors to an external website, where they can purchase their own unique ticket-ID. Please note, that one ticket-ID can only be linked to one account.
On each event card, you will find a short description on what the event is about, the timeframe as well as different labels, indicating if an event is live or has already concluded. Past events will be labeled with an archive tag, so that you can experience all livestreams also on-demand.
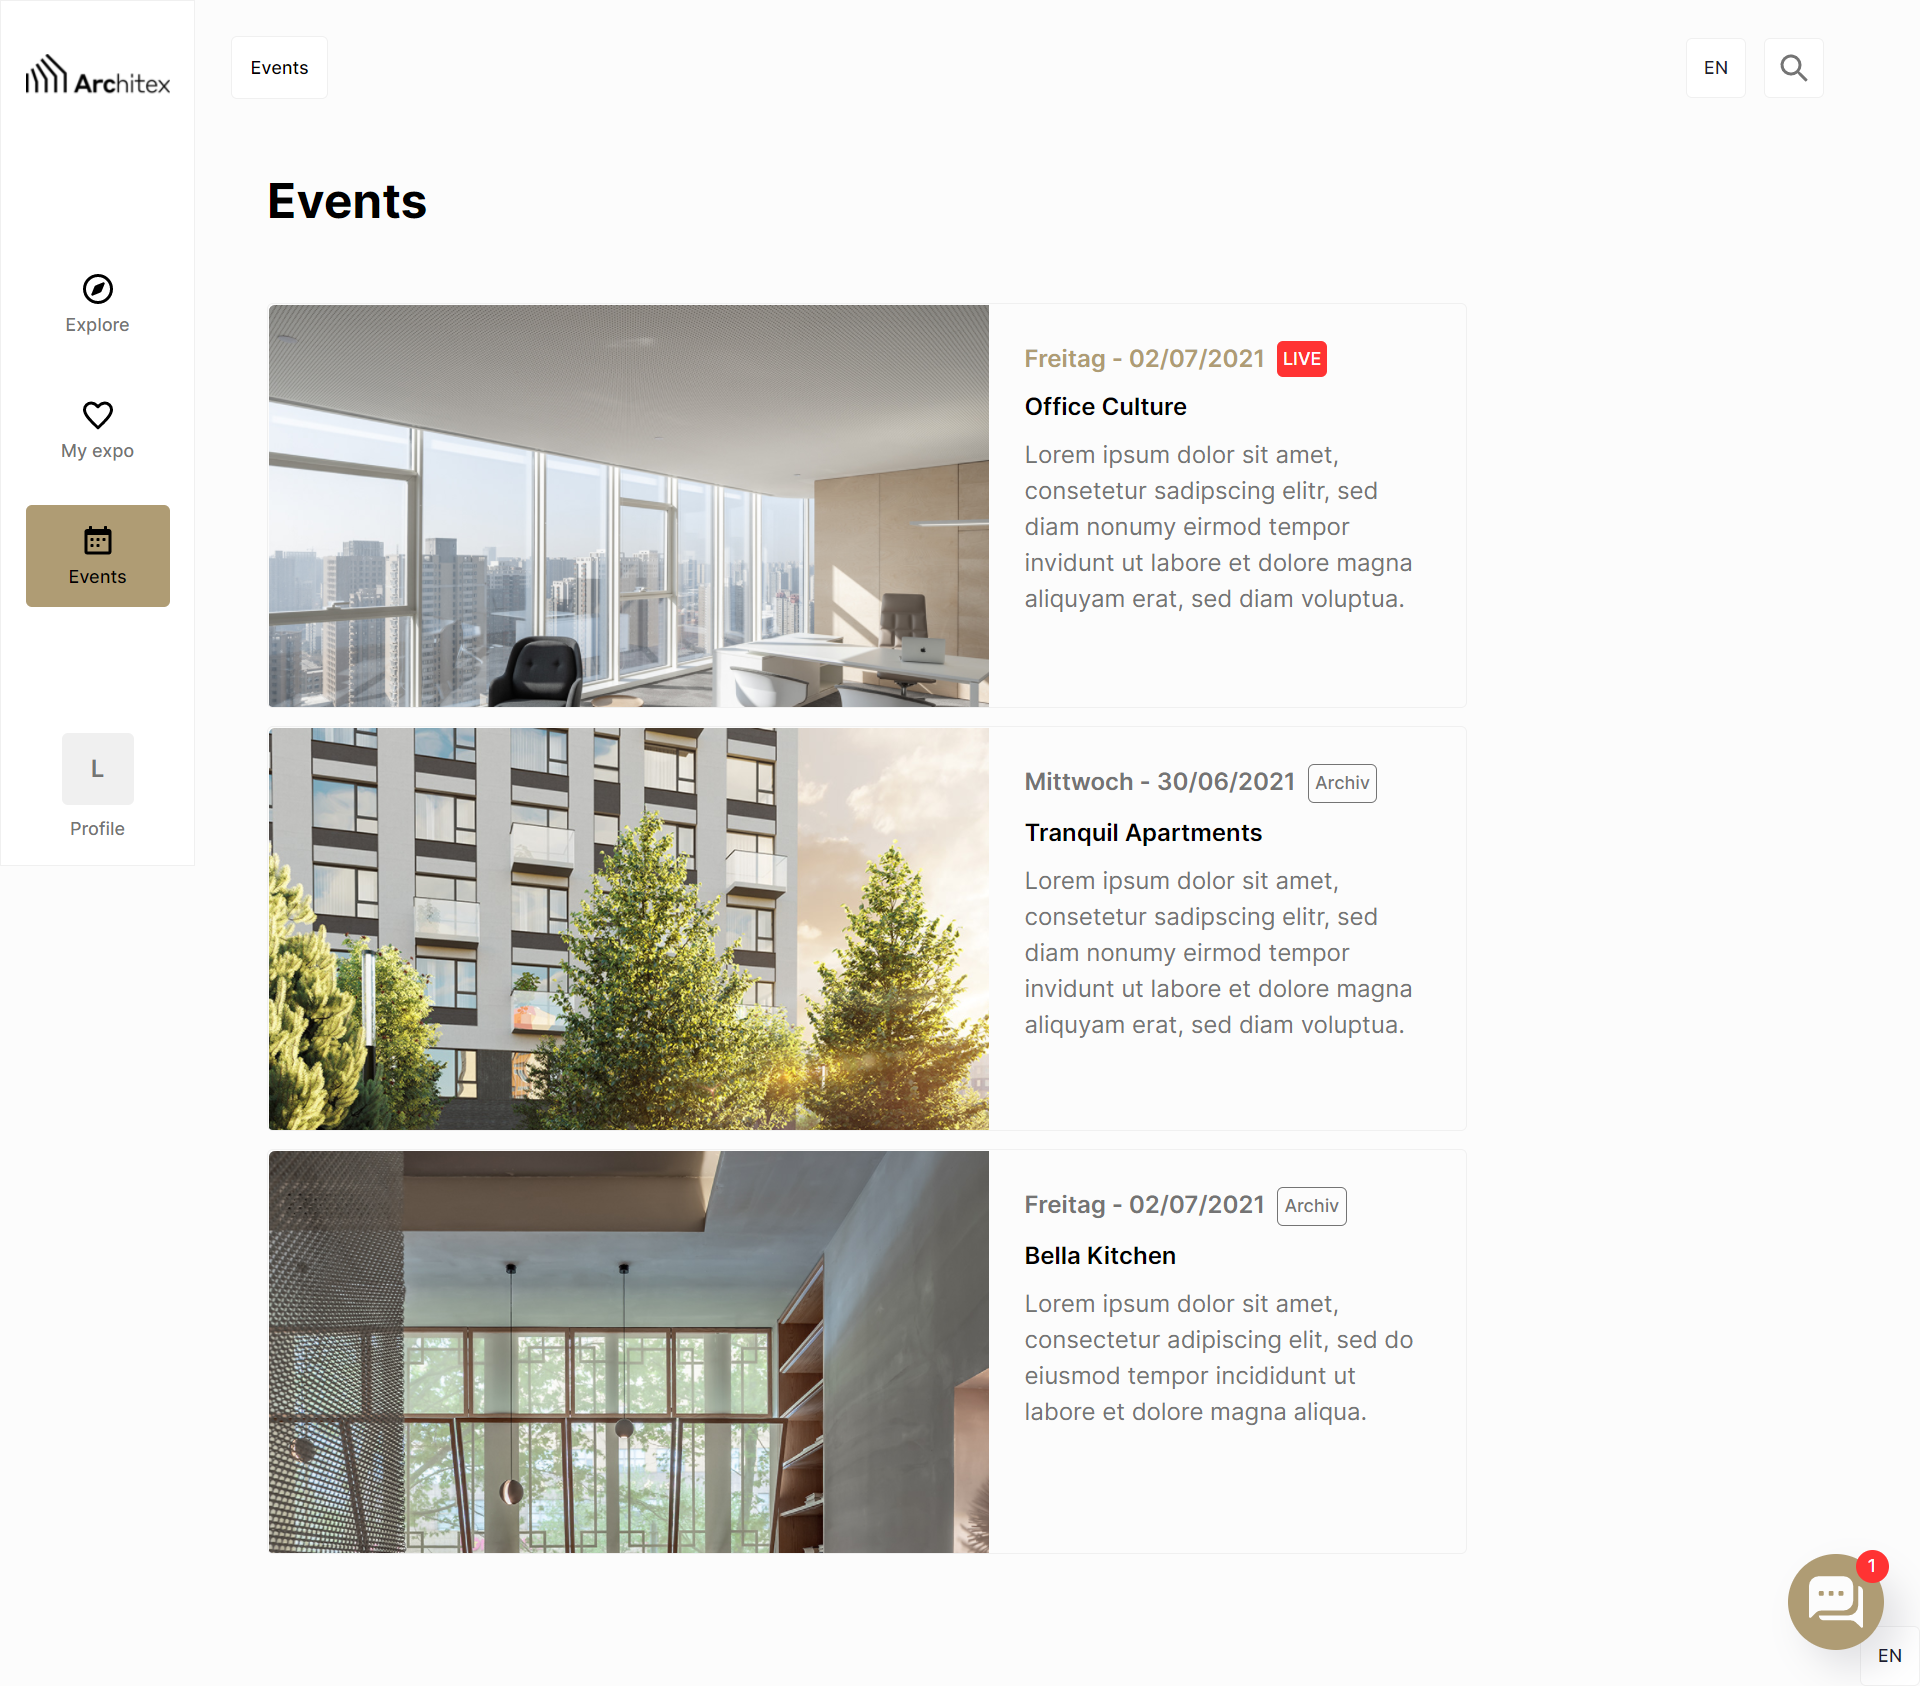
Image 1: Here you can see the overview of all events.
Exploring and filtering channels
You can compare channels on Virtrex to channels on television or other streaming websites. A channel is a collection of livestreams that all follow the same topic. On the top of the page, you will find the channel navigation bar, which is divided into 2 layers. The first layer is directly visible for you and allows you to filter the page towards a specific channel. As per default, this setting is set to “All Panels”. The second layer can be toggled by selecting the calendar icon. This will open a date selector with which you can refine your preferences.
Once you are satisfied with your selection you can start navigating down the page. The panels are displayed in a slider so you can scroll horizontally through the panels of a certain channel. The panels within a channel are sorted so that the next upcoming panel will be displayed first. Panels that are already over will be displayed at the end. If “All Panels” is selected, panels will also be categorized and displayed within their own channel slider.
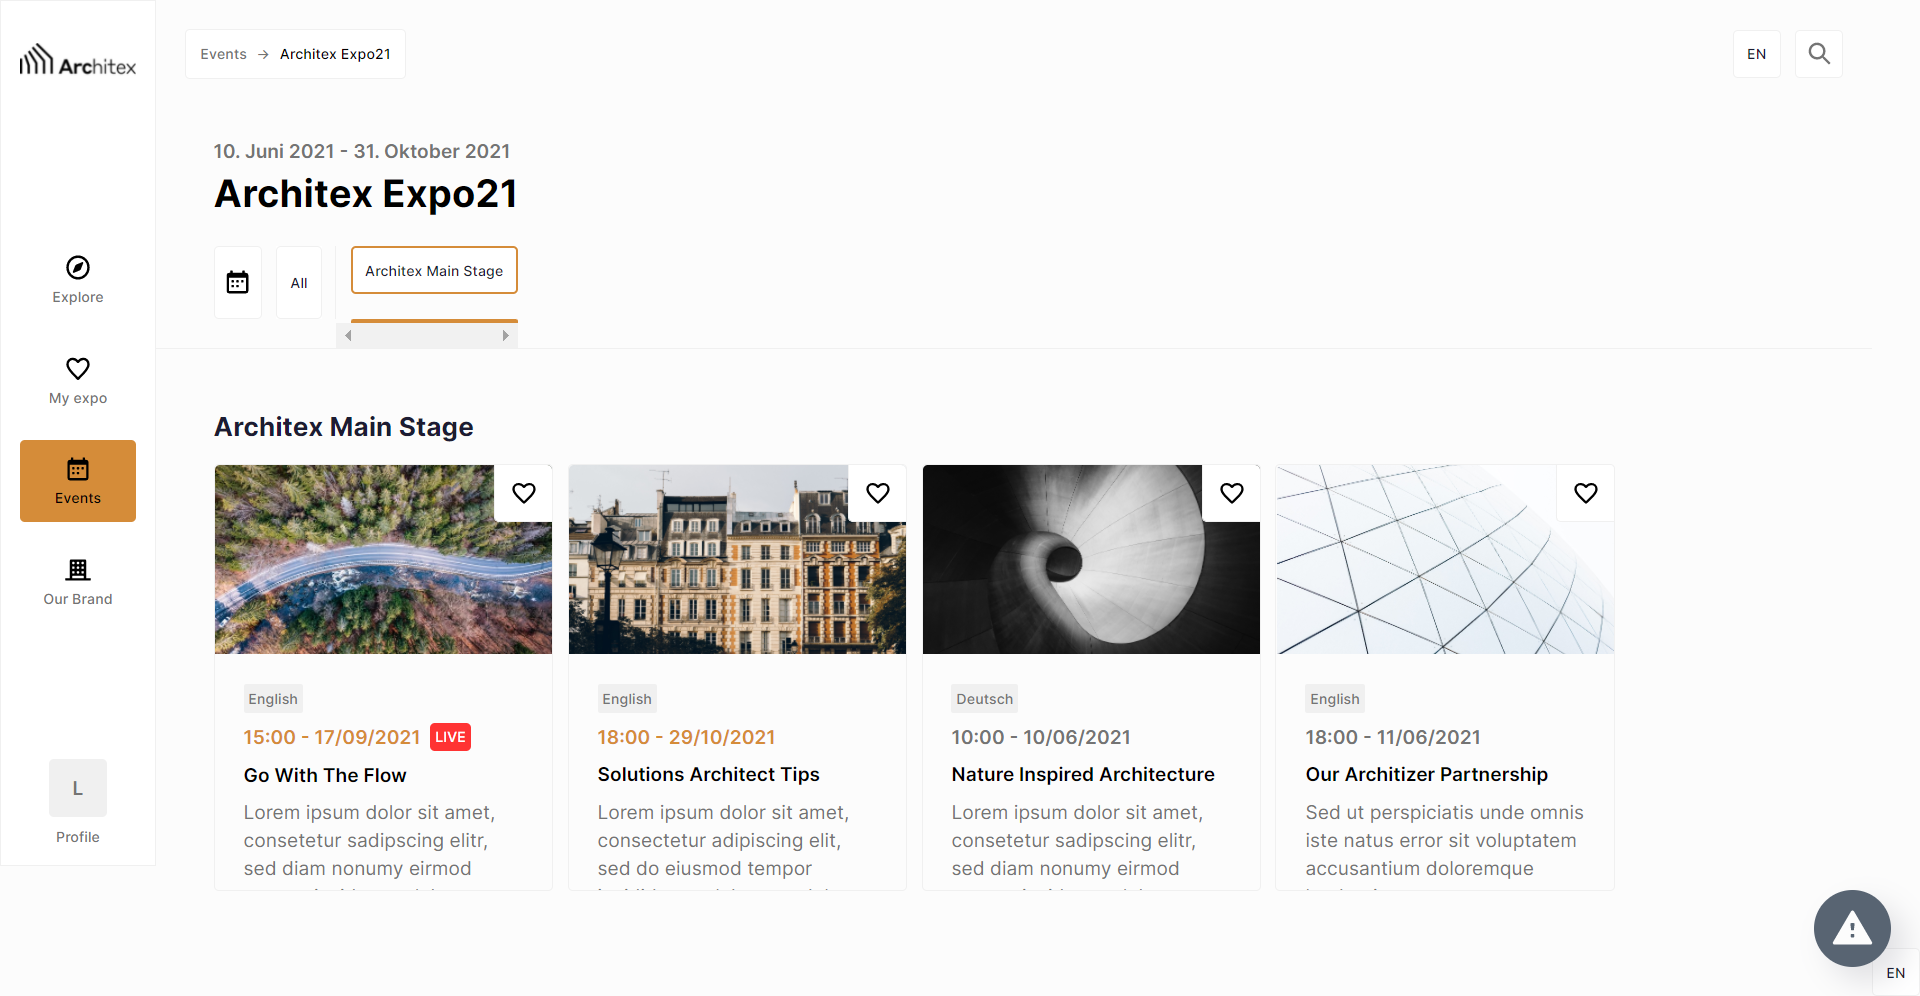
Image 2: Here you can see the overview of the channel navigation.
How to watch and interact with livestreams
Once you have selected a livestream from the channel overview, you will be redirected to the livestream page. The most prominent component on this screen is the livestream itself. The controls and interface of the livestream will be different depending on which provider the company is using for their livestream. This also accounts for the chat, which is found directly next to the livestream. Please note that different providers will also offer different interactions in the live chat.
Below the livestream you will find additional information on the content, speakers as well as the presenting brand and all products which are covered in the livestream. Additionally, you will find a panel teasing which livestreams are coming up next, and a collection of all salespeople that are available to be contacted.