Add contacts
In this short video we show you how to invite visitors to your Expo.
View, edit and add visitors
You can view, edit or add your contacts by selecting “Contacts” in the menu on the left. Here, you will find all your previously added contacts displayed in list format.
If you are new to Virtrex and your contact list is empty, you can use the “Add Contacts” button on the right to add visitors and invite them later to your Expo. (See image 1 below)
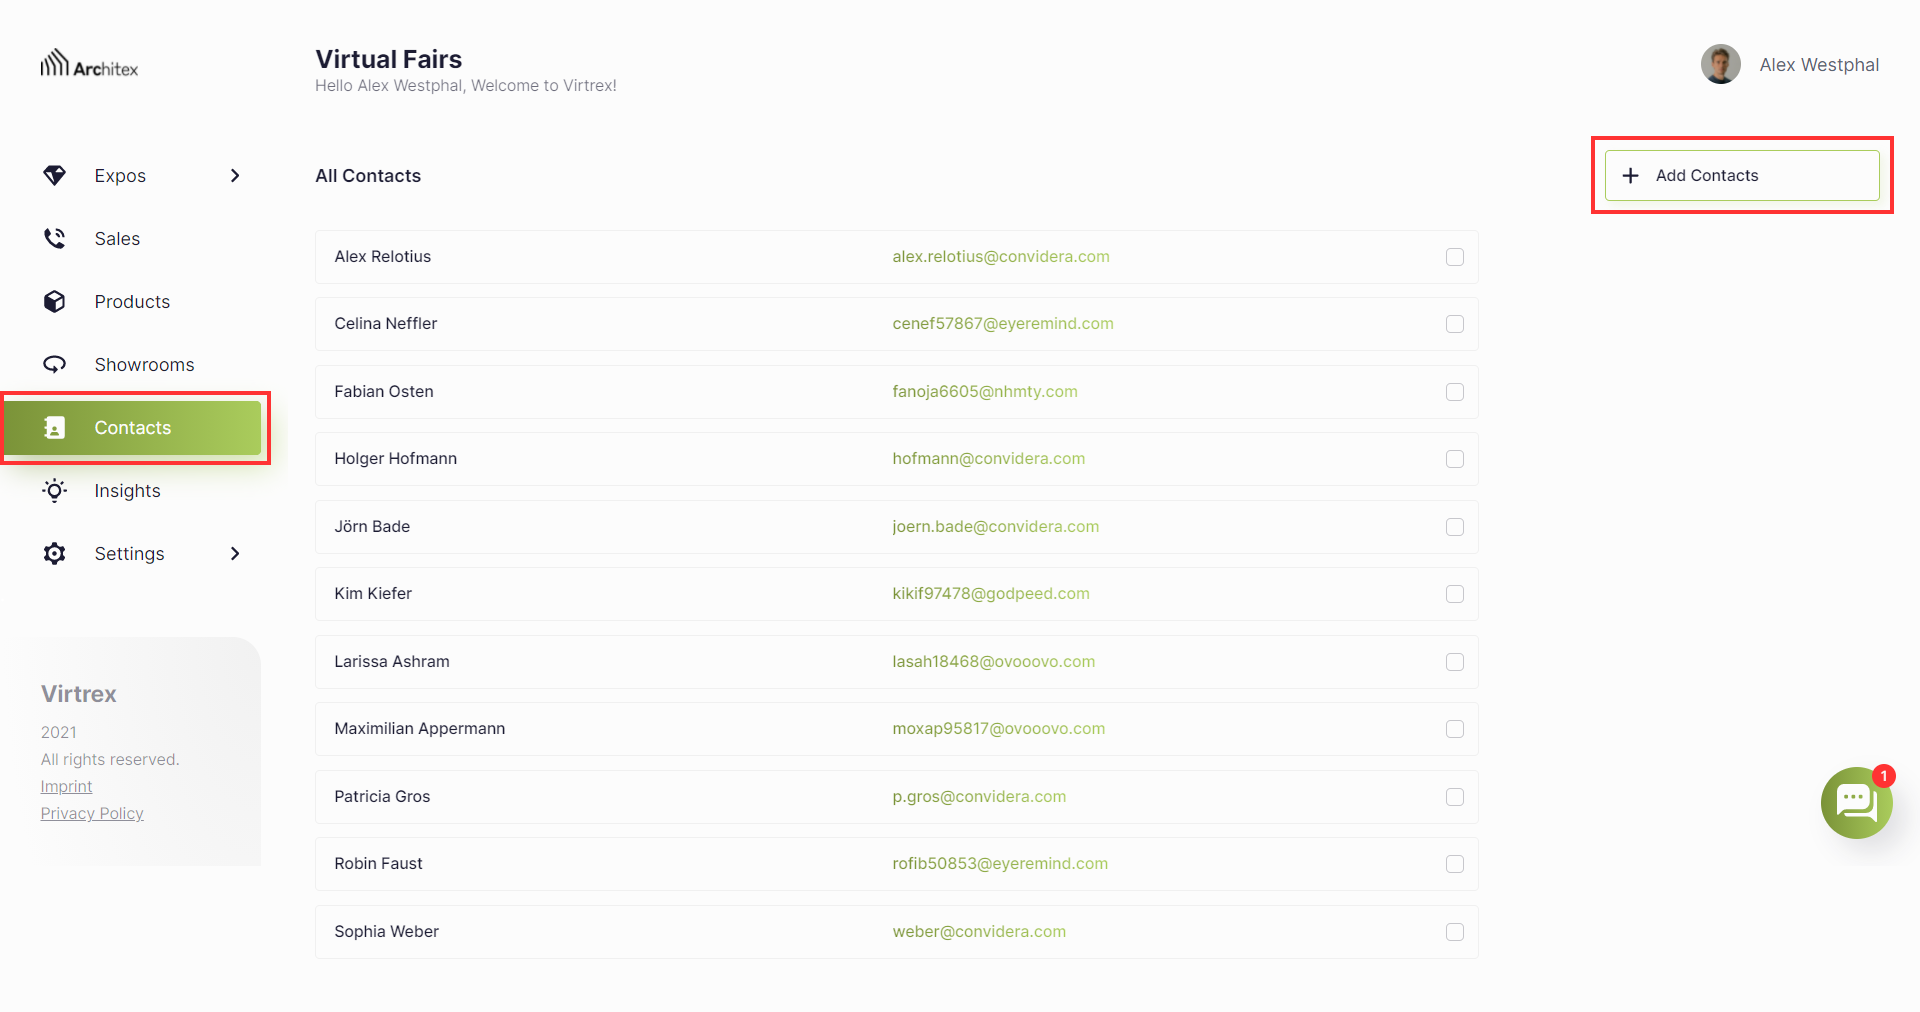
Image 1: Here you see how to add contacts.
Add contacts
To add contacts click on “Add Contacts” in the top right corner. A pop-up will appear, in which you have the choice to import your contacts via an Excel file or to add them individually (see below image 2).
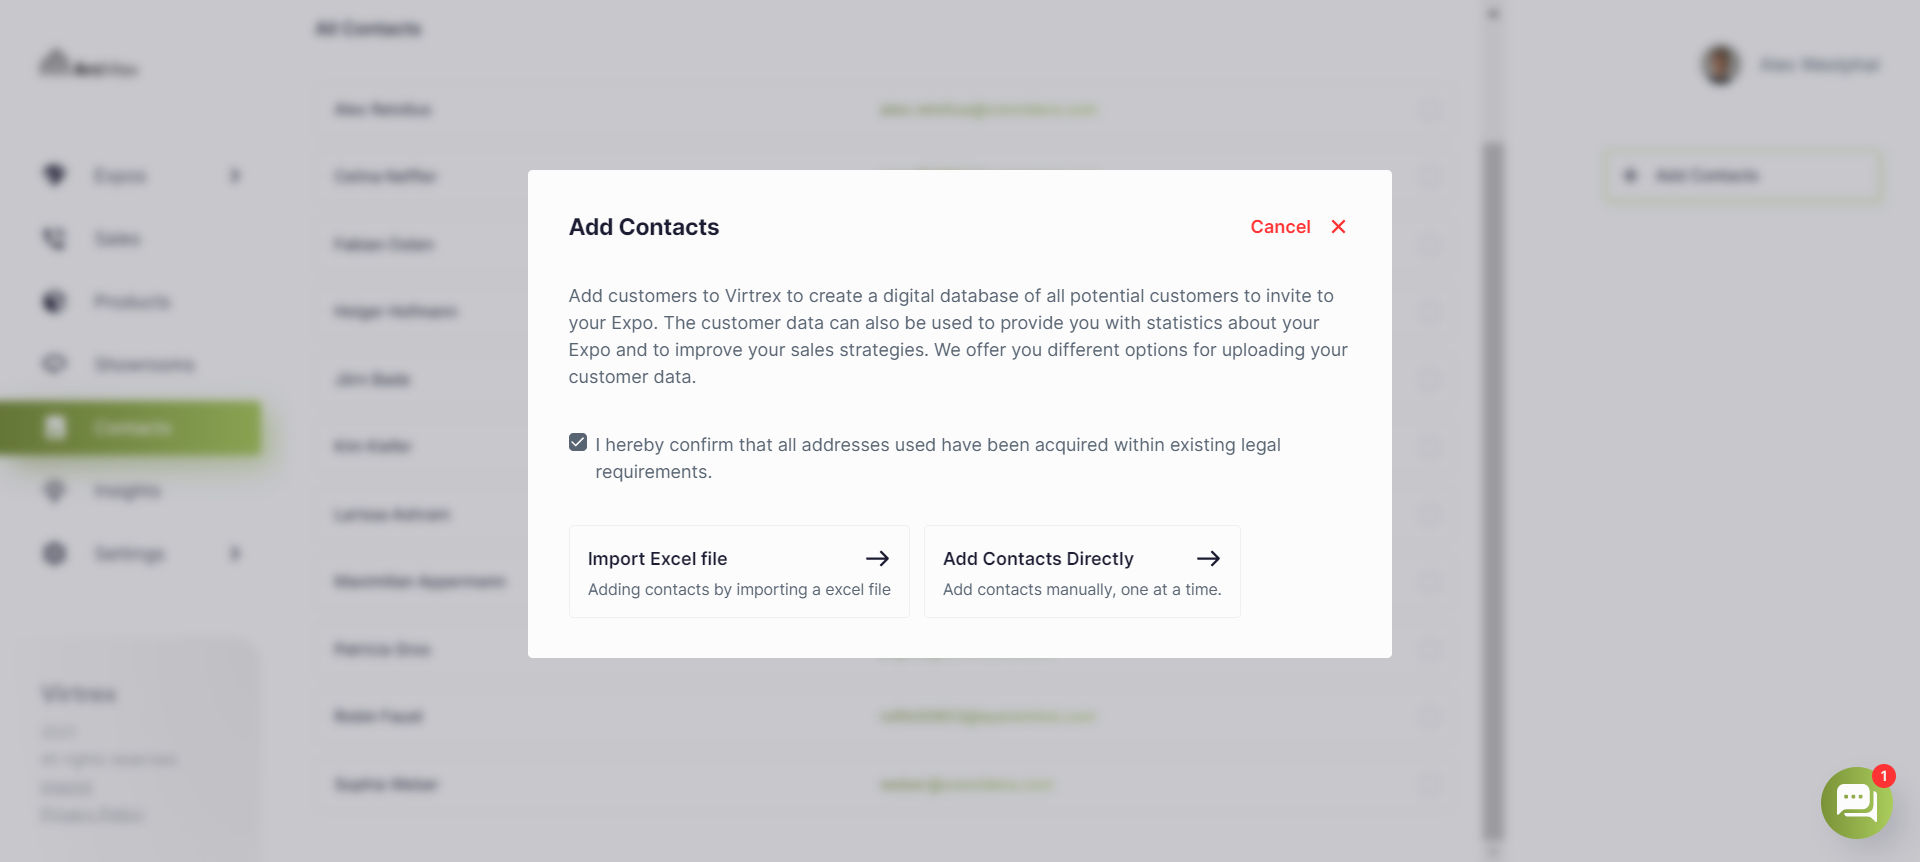
Image 2: Here you see the pop-up to add contacts.
Add contacts via Excel file
If you want to upload your contacts via an Excel file, click on “Import Excel file”. Another pop-up will open with the heading “Import contacts via Excel” (see below image 3).
Here you can upload an Excel file with information about your visitors. This file should contain the following data: e-mail address, first name, last name, company, responsible associate. Please note that there should not be any symbols or spaces after e-mail addresses in Excel. Otherwise, the e-mail addresses will not display as valid. When assigning one of your employees, please make sure that the person has already been invited to your team and that you enter the e-mail address with which the account was created in the corresponding field.
Please use the template we provide for the right data structure.
After filling in the file, save it and click on the arrow pointing upwards on the right to select the appropriate file and upload it. You will now see a preview of the contacts you want to upload. To end this action successfully, click on the “Import Contacts” button. You will then return to your contact overview where you will see your newly added contacts.
If you don’t want to import your contacts via an Excel file after all, just click on “Back”. If you want to cancel the process, please click on “Cancel” in the upper right corner to return to the contact overview.
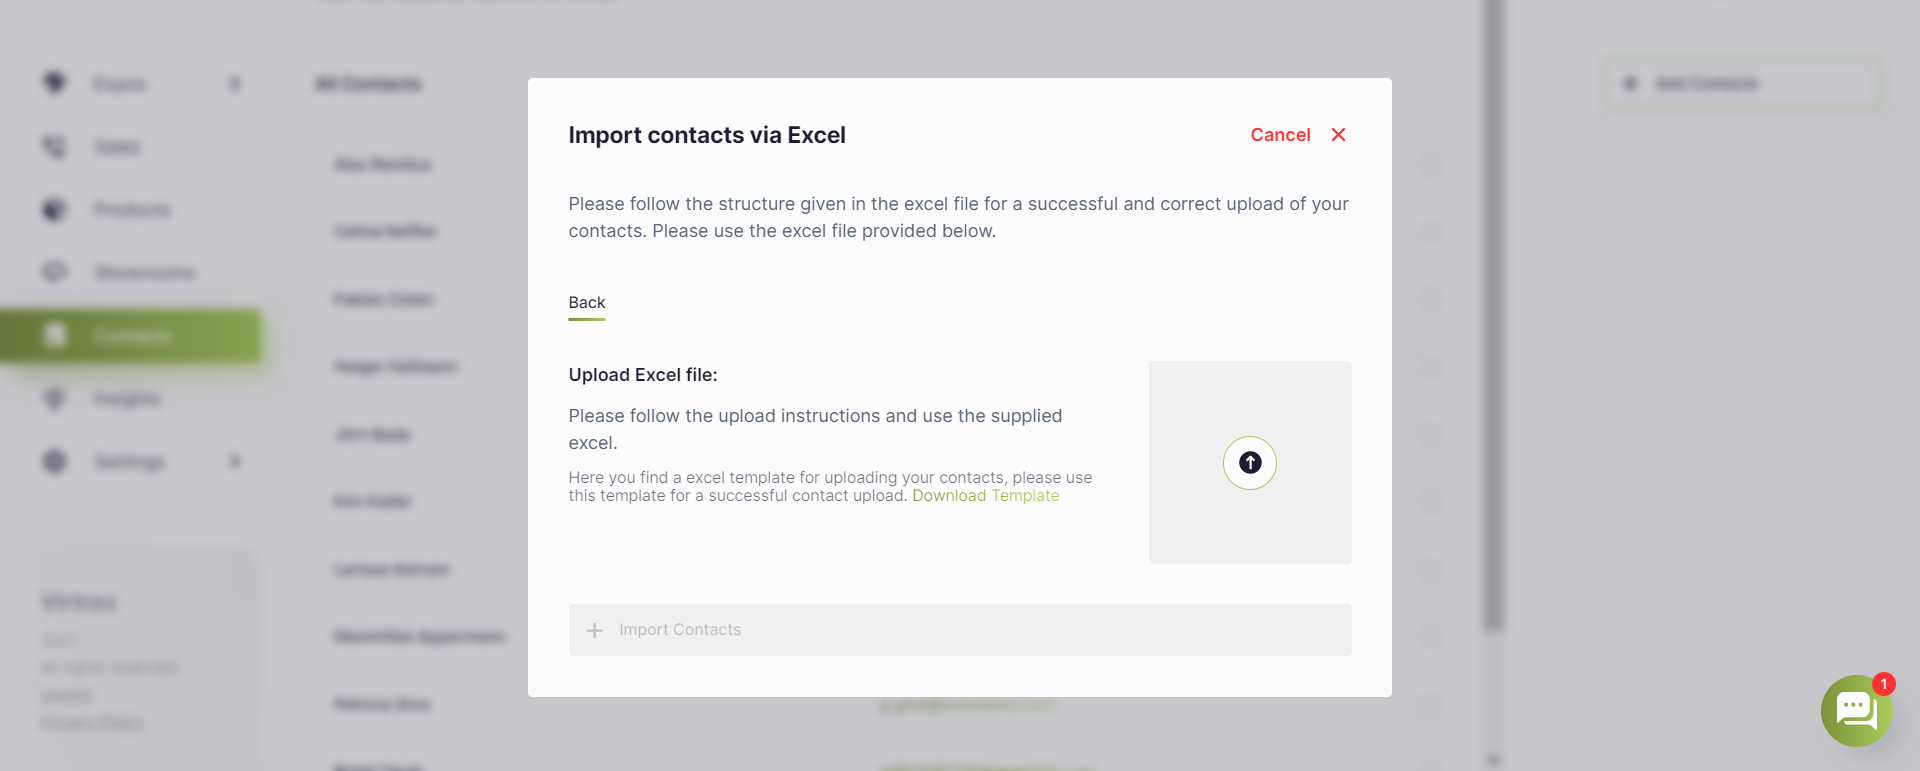
Image 3: Here you see how to import contacts via Excel.
Add contacts manually
If you want to enter your contacts manually, click the “Add Contacts” button. Another window with the “Add Contacts” heading will open (see below image 4).
Here you can enter your contact’s data into the provided fields: e-mail address, first name, last name, company, responsible associate.
Once all the fields are filled in correctly, you can add the contact by clicking the “Add Contact” button below. You will then return to the contact overview where you can see your newly added contacts.
If you do not want to add your contact manually after all, simply click on “Back”. If you want to cancel the process, please click on “Cancel” in the upper right corner to return to the contact overview.
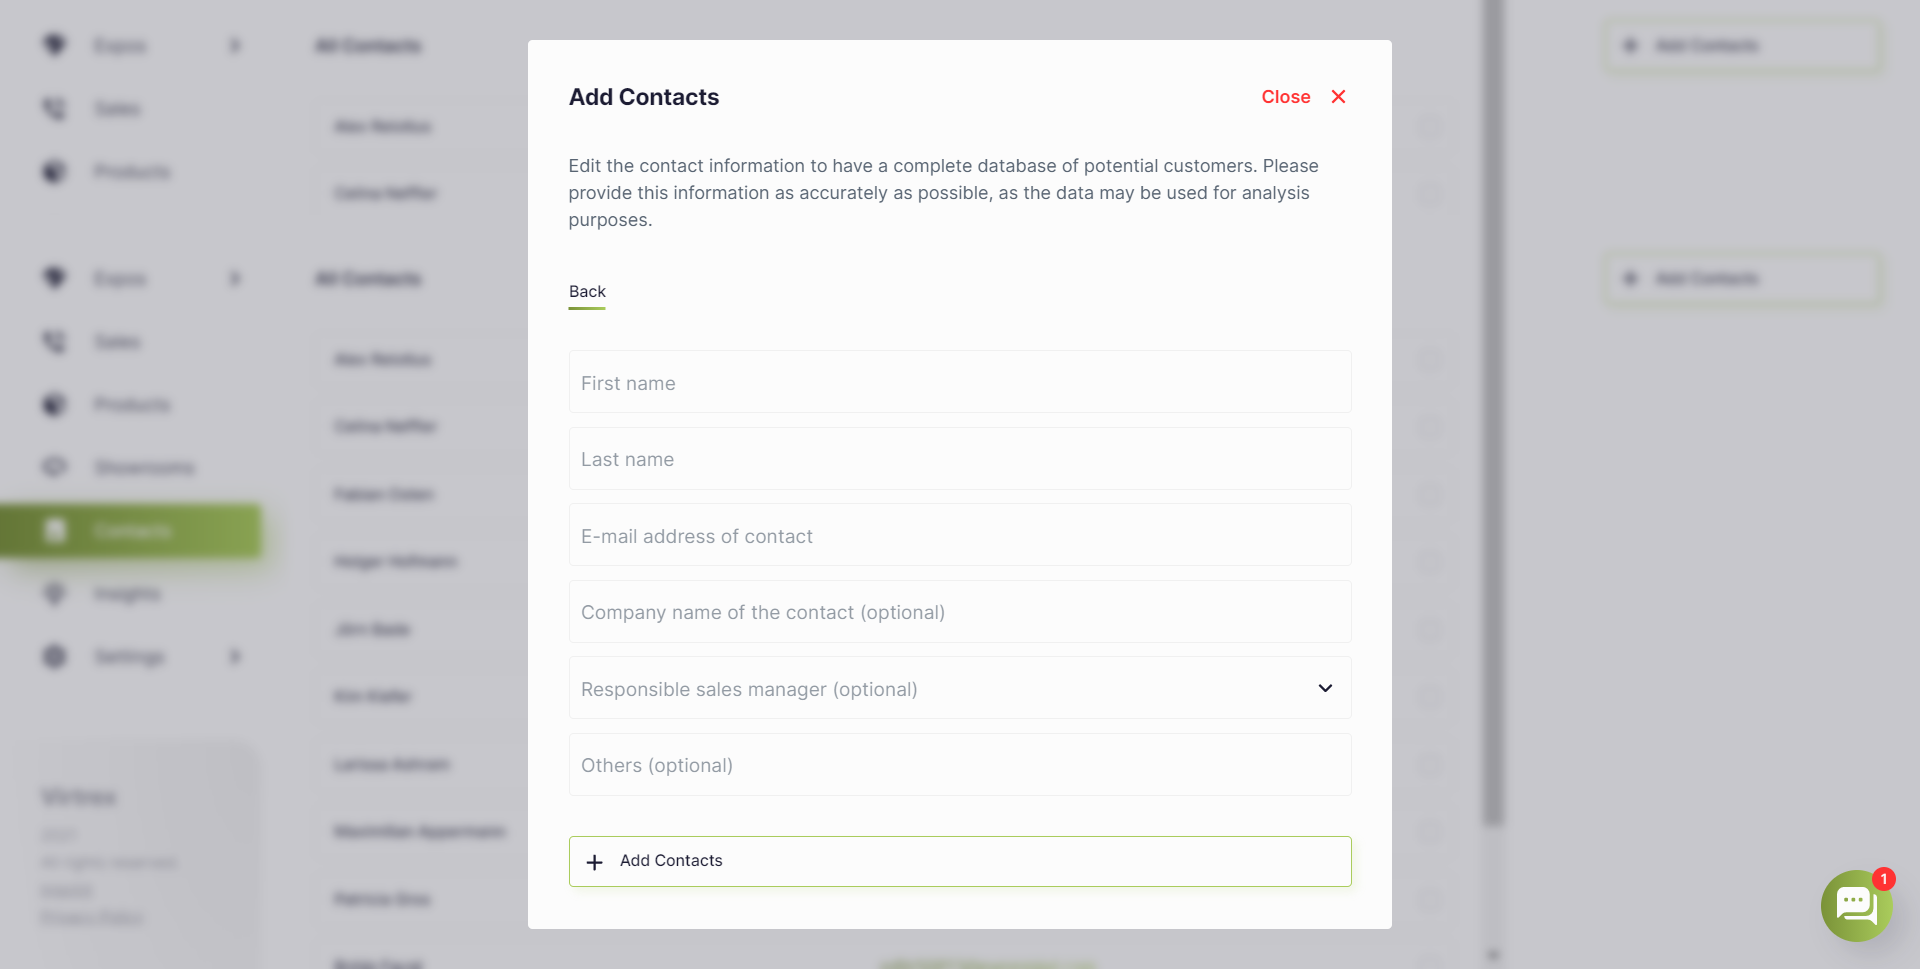
Image 4: Here you see how to add contacts manually.
Edit contacts
To edit your contacts, click on the contact you want to edit. You will then be redirected to the contact’s details page. Here you can edit your contact in the upper right corner at “Edit Contact” (see below image 5).
Once it has opened, simply click on the fields you wish to edit and then click “Save Changes” at the bottom. Your edit has now been saved and the new data applied.
If you want to cancel the process, please click on “Cancel” in the upper right corner to return to the address book overview.
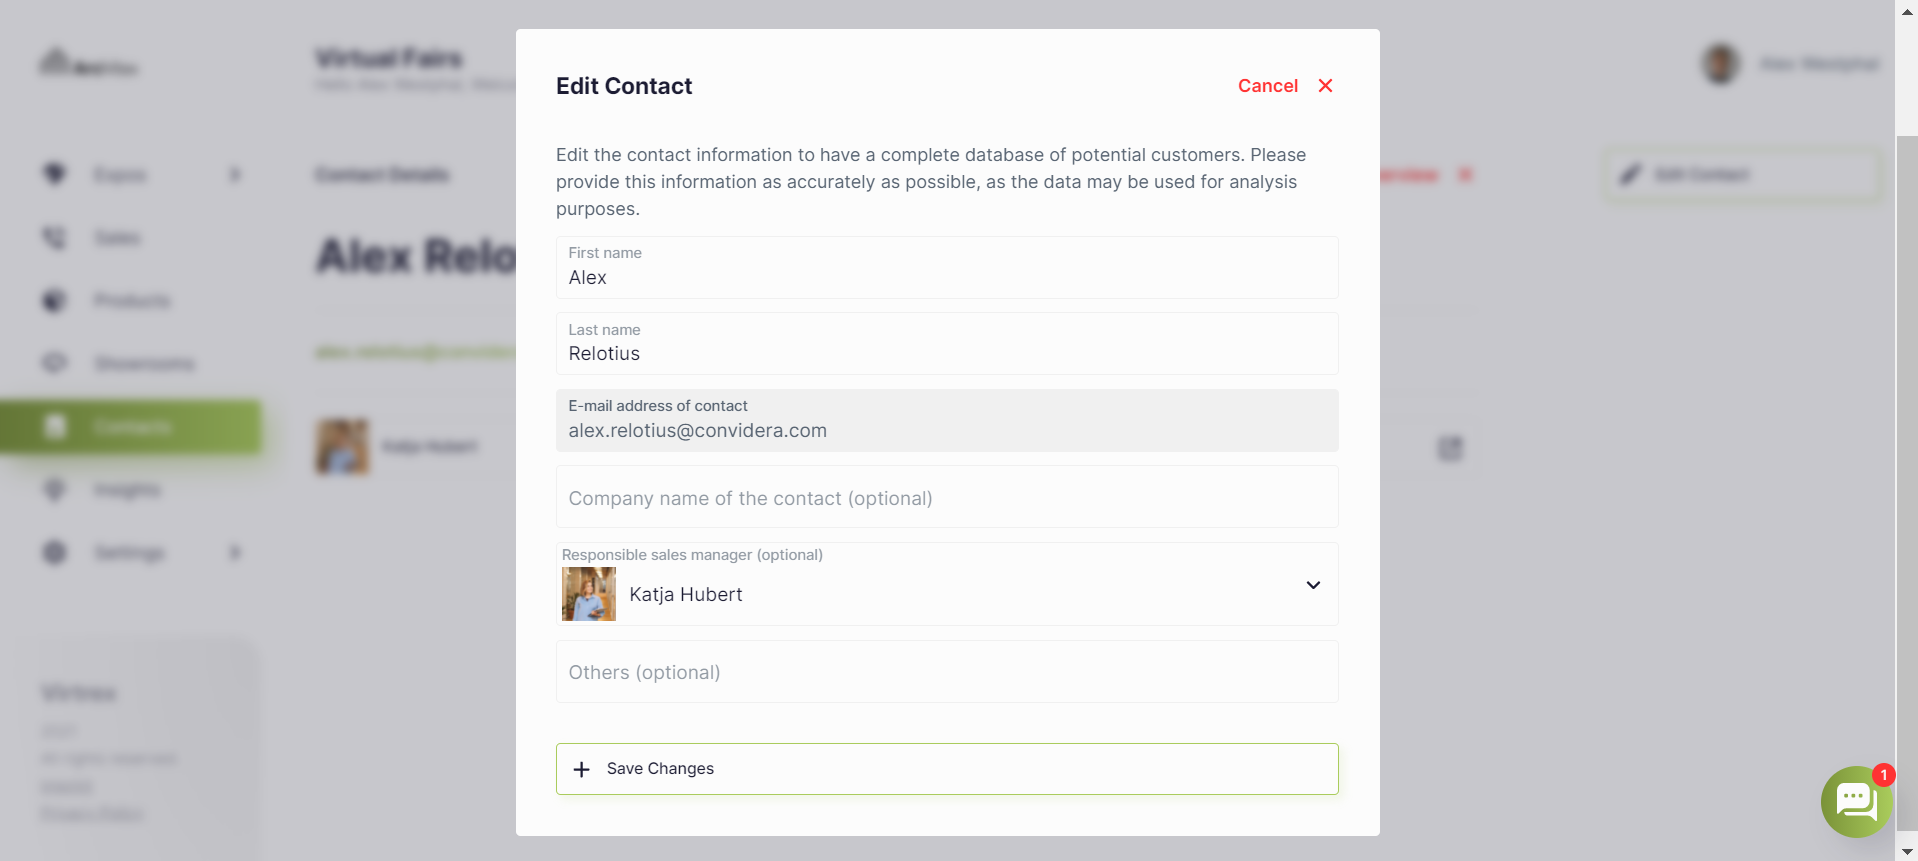
Image 5: Here you see how to edit contacts.
Delete contacts
To delete your contacts, you can select a contact on the overview page by clicking the check mark right to the name. Afterwards a pop-up will open on the right-hand side, which is marked with the name of the selected contact, in which you can then click on “Delete Contact” (see below image 6). If you want to delete several contacts at the same time, you can set several checkmarks and see on the right-hand side how many contacts you have selected.
Corresponding contact data will be removed from your contacts and will no longer be visible on the page.
If you want to cancel the process, please click “Cancel” in the upper right corner to return to the address book overview.
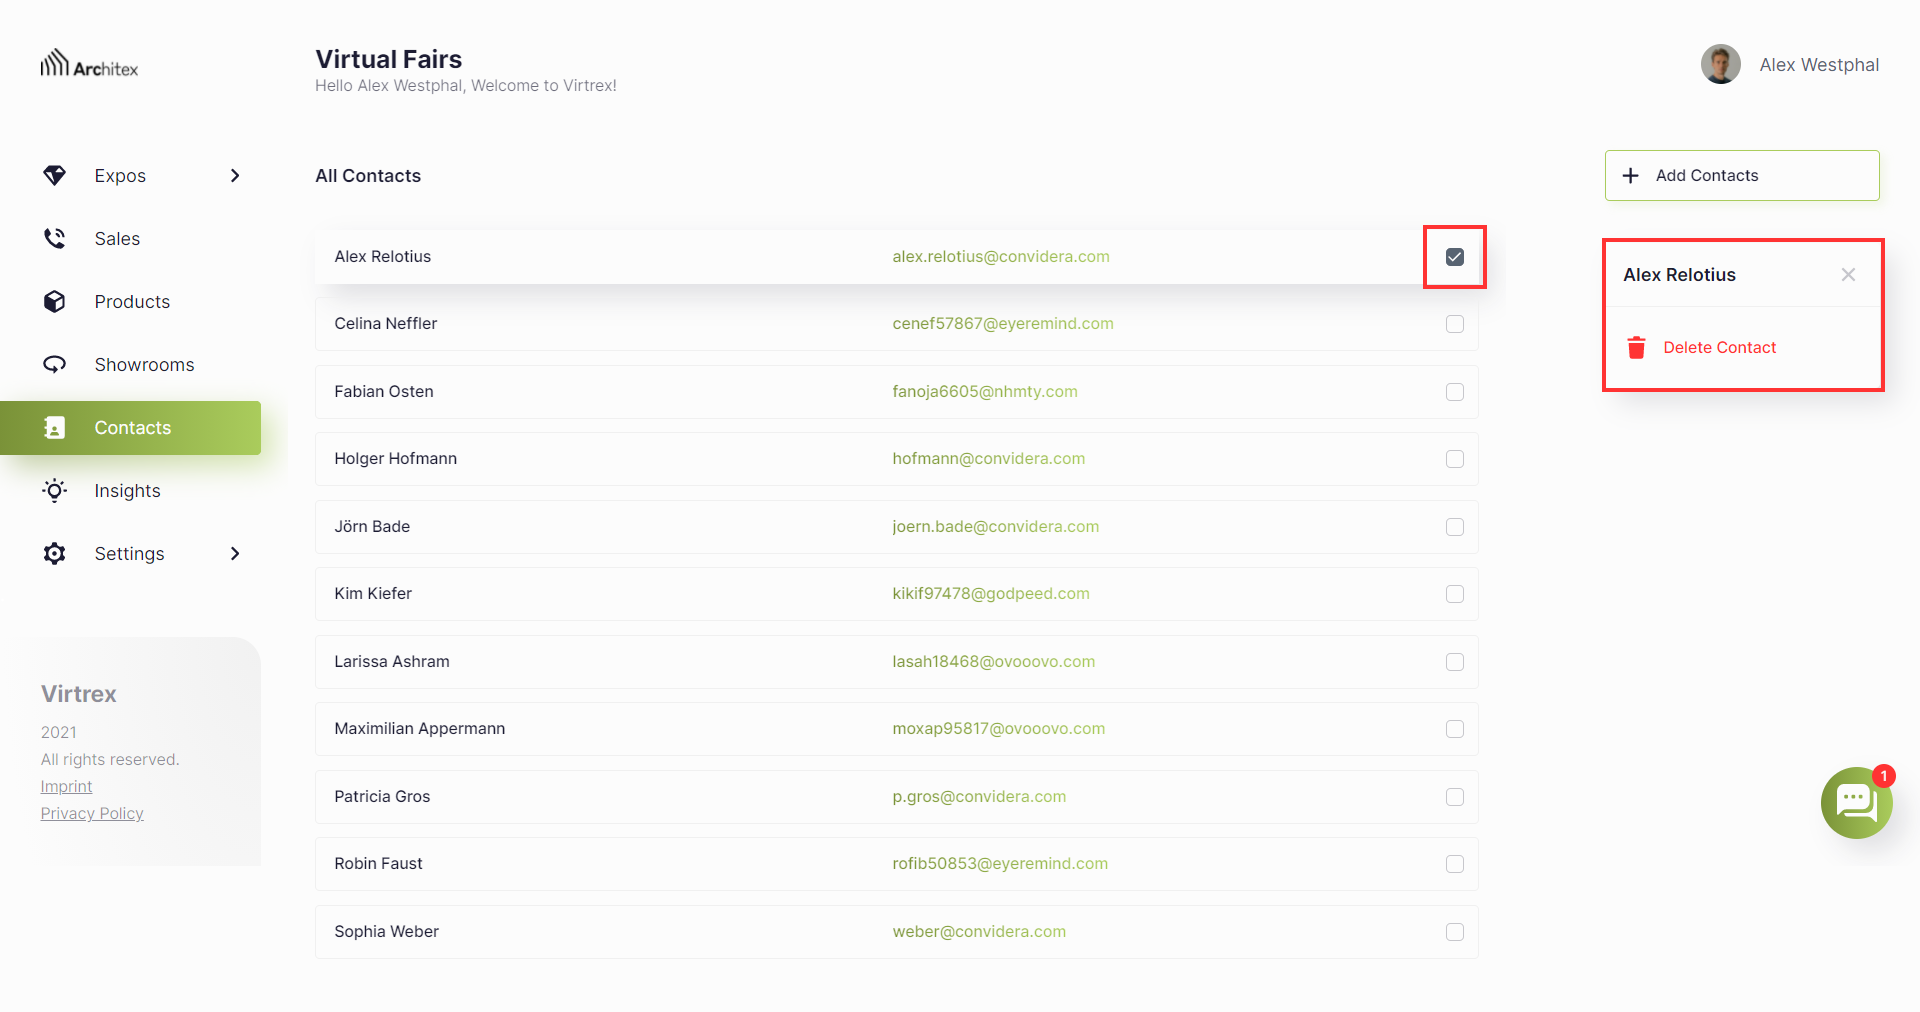
Image 6: Here you see how to delete contacts.
Send invitations
In order for the invitations to be sent to your visitors, you need to add them to your Expo section. To do this, go to “Expos” in your menu bar on the left. Here, select the Expo to which you want to invite the visitors. In the green bar, you can see how many guests you have already invited. Here you can make invitations under “Invite Guests”. Under “Invited Guests” you can see to whom an invitation has already been sent. Under “Available Contacts” you can select the contacts you want to invite by clicking the box for the invitation. When you are done selecting your contacts, you can send the invitations by clicking on “Save Changes”.
If you invite visitors via your Admin Panel, they will receive an invitation e-mail from Virtrex to your Expo. Here you will be recognized as the sender with your brand name and logo. The advantage for visitors is that they can find your brand directly when they enter the Expo and it is always displayed to them during the Expo.