Add showroom and manage 3D products
How do I add a showroom?
Go to the overview page on the left and click the “Showrooms” button to see your showrooms or add new ones.
Click the “Create Showroom” button to create a new showroom (see below image 1).
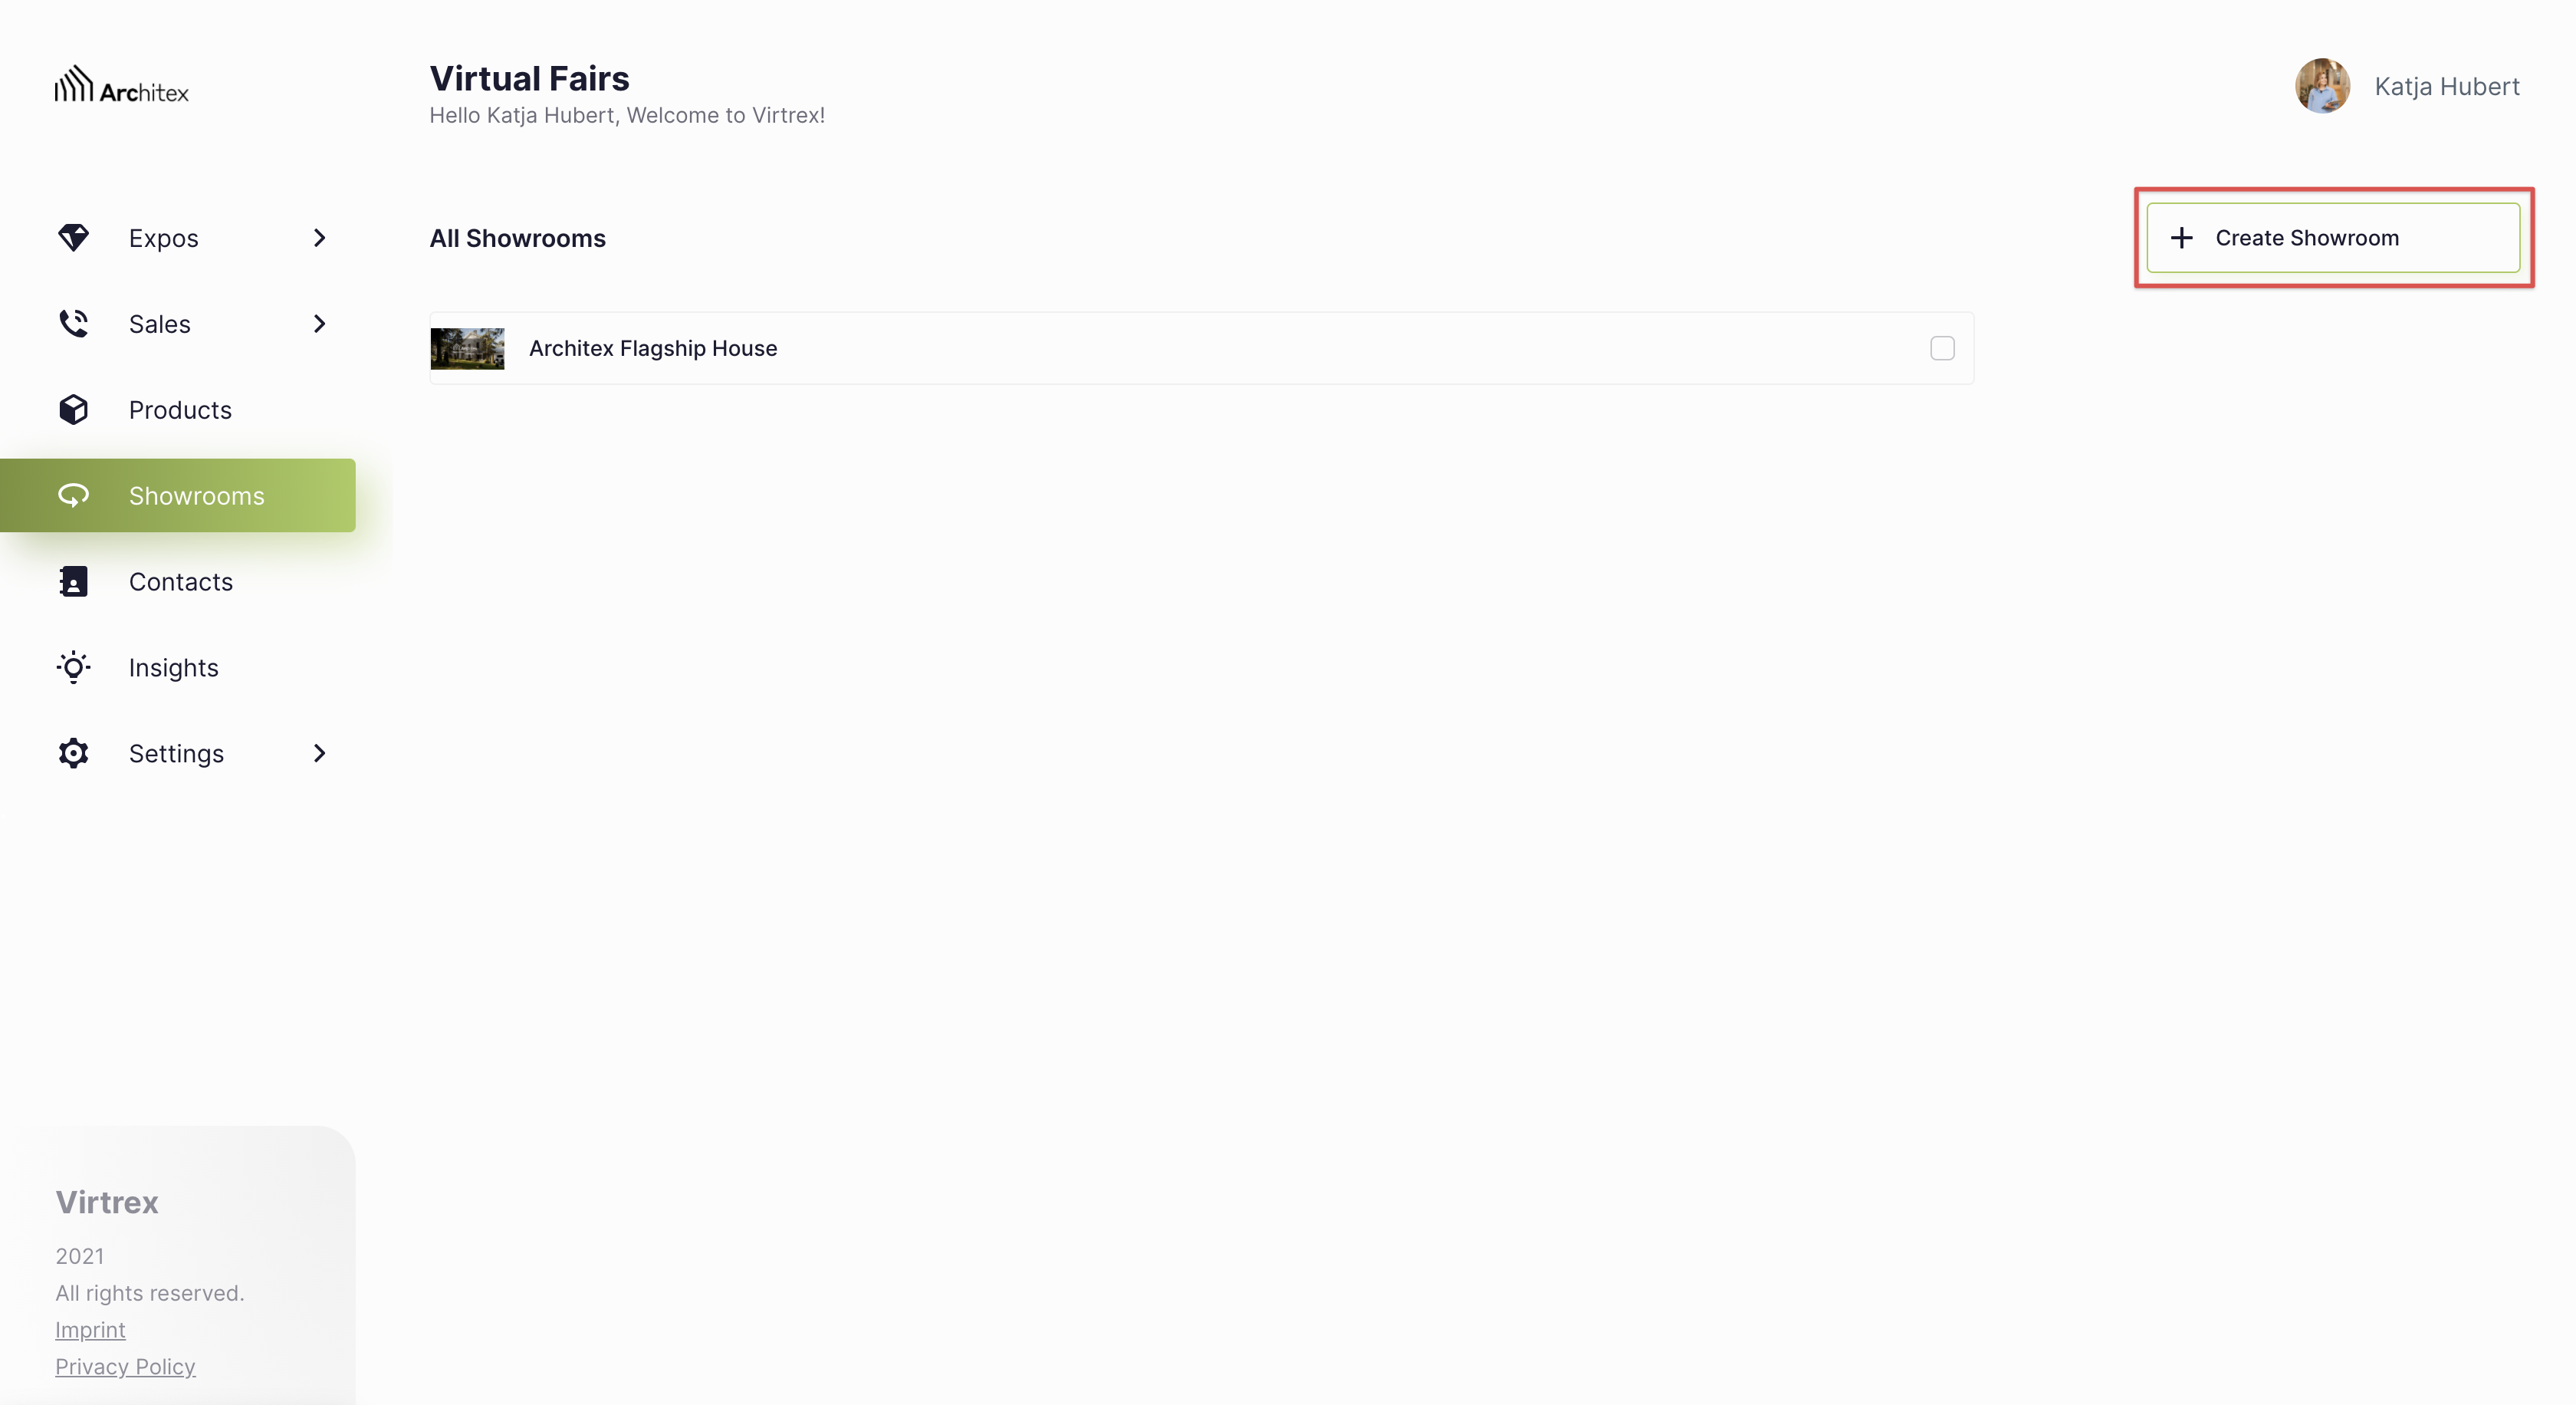
Image 1: Here you see how to add a new showroom in the Admin Panel.
In the first step, a template can be selected. The templates of the different showrooms allow you to use different types of spaces and corresponding stylings. The size determines how many products you can place inside the showroom.
To receive a customized template, contact us at: support@virtrex.com.
After you have selected a template, you need to add the following information:
Showroom name
Showroom description
Showroom preview image
You have the possibility to add the name and the description of the showroom in different languages. There, the languages you have defined for the Expo under “Expo Settings” > “Languages” will be listed. Please note that you have to fill in all language variants to be able to create the showroom.
Note: If you are a participating brand of an Expo, the languages of the Expo cannot be set by you, but are determined by the organizer. You can edit the languages of your brand under “Settings” > “Brand Setup” and then save the description of your brand, your products as well as your showrooms in these languages.
Once you have filled in the information, click on “Create Showroom” (see below image 2).
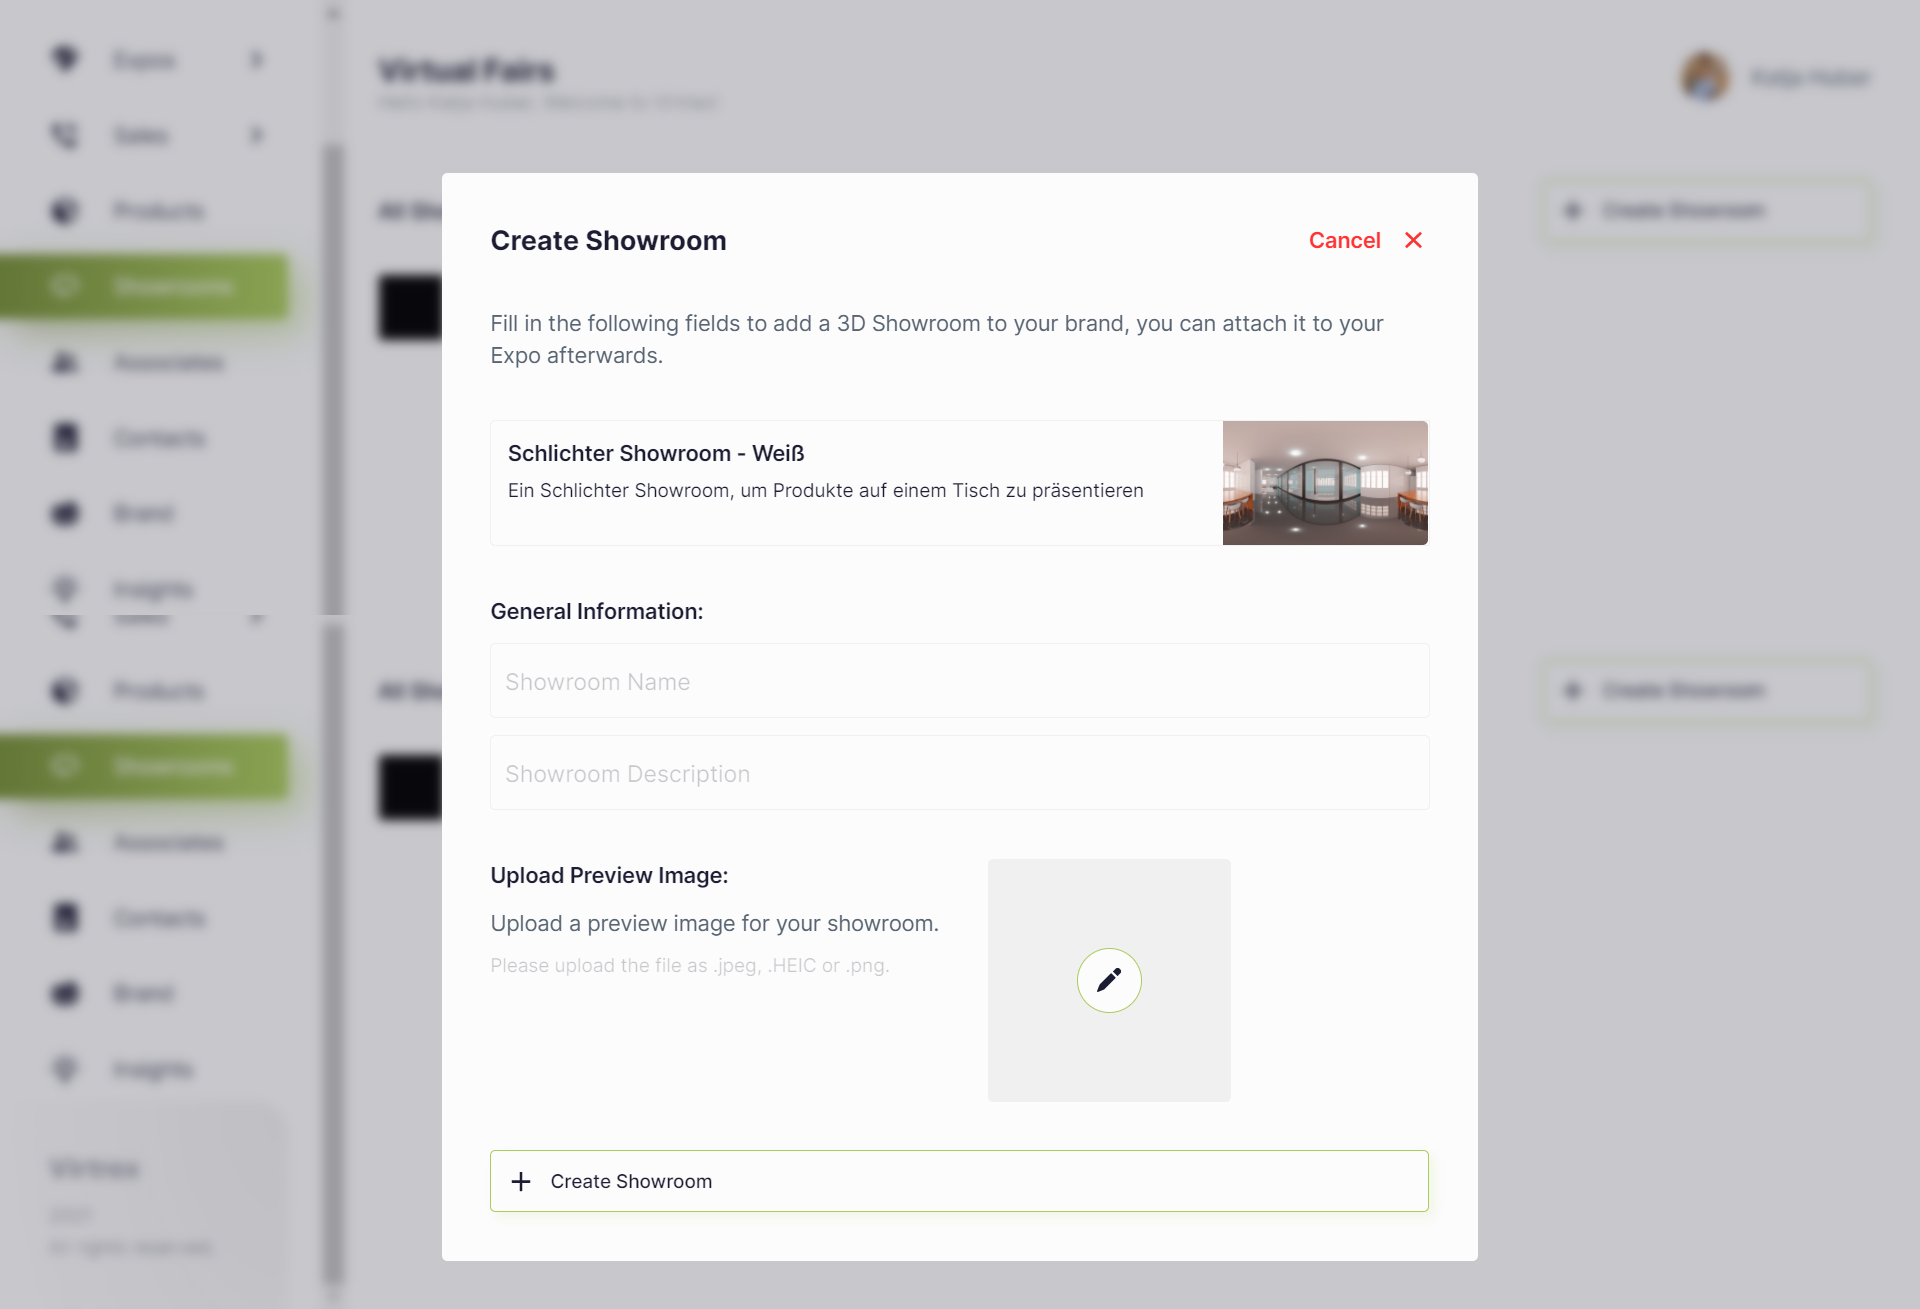
Image 2: Here you see how to create your showroom.
Adding products to a showroom
After you have created the showroom, you can add products. To do this, select the pre-added products from a product list.
Note that you need to add a .GLB file to a product so that you can implement this in your showroom. Only products that have been uploaded as a .GLB file can be displayed in the showroom.
Advanced settings for products
Advanced settings for products let you change the orientation, size and zoom of a product in a showroom. As showrooms and 3D models differ in their properties, you can use the advanced settings to align your 3D products correctly. To open the corresponding menu, go to the “Showrooms” overview page over the product you want to select and click the cogwheel on the right. The edit box will open directly (see below image 3).
The advanced settings offer:
Orientation: Controls whether the product should be aligned more to the left or to the right in its initial position. This value can be in a range of 0-360. The product will then rotate on the horizontal.
Size of the object: Controls the size of the products in the display in comparison to the other products.
Zoom of the object: Controls how close the product gets to you when you click on it.
Note: We recommend changing the values to try out what works best for your showrooms, as 3D models vary in their characteristics. We would recommend you to start with a rather small size and increase it until you like it.
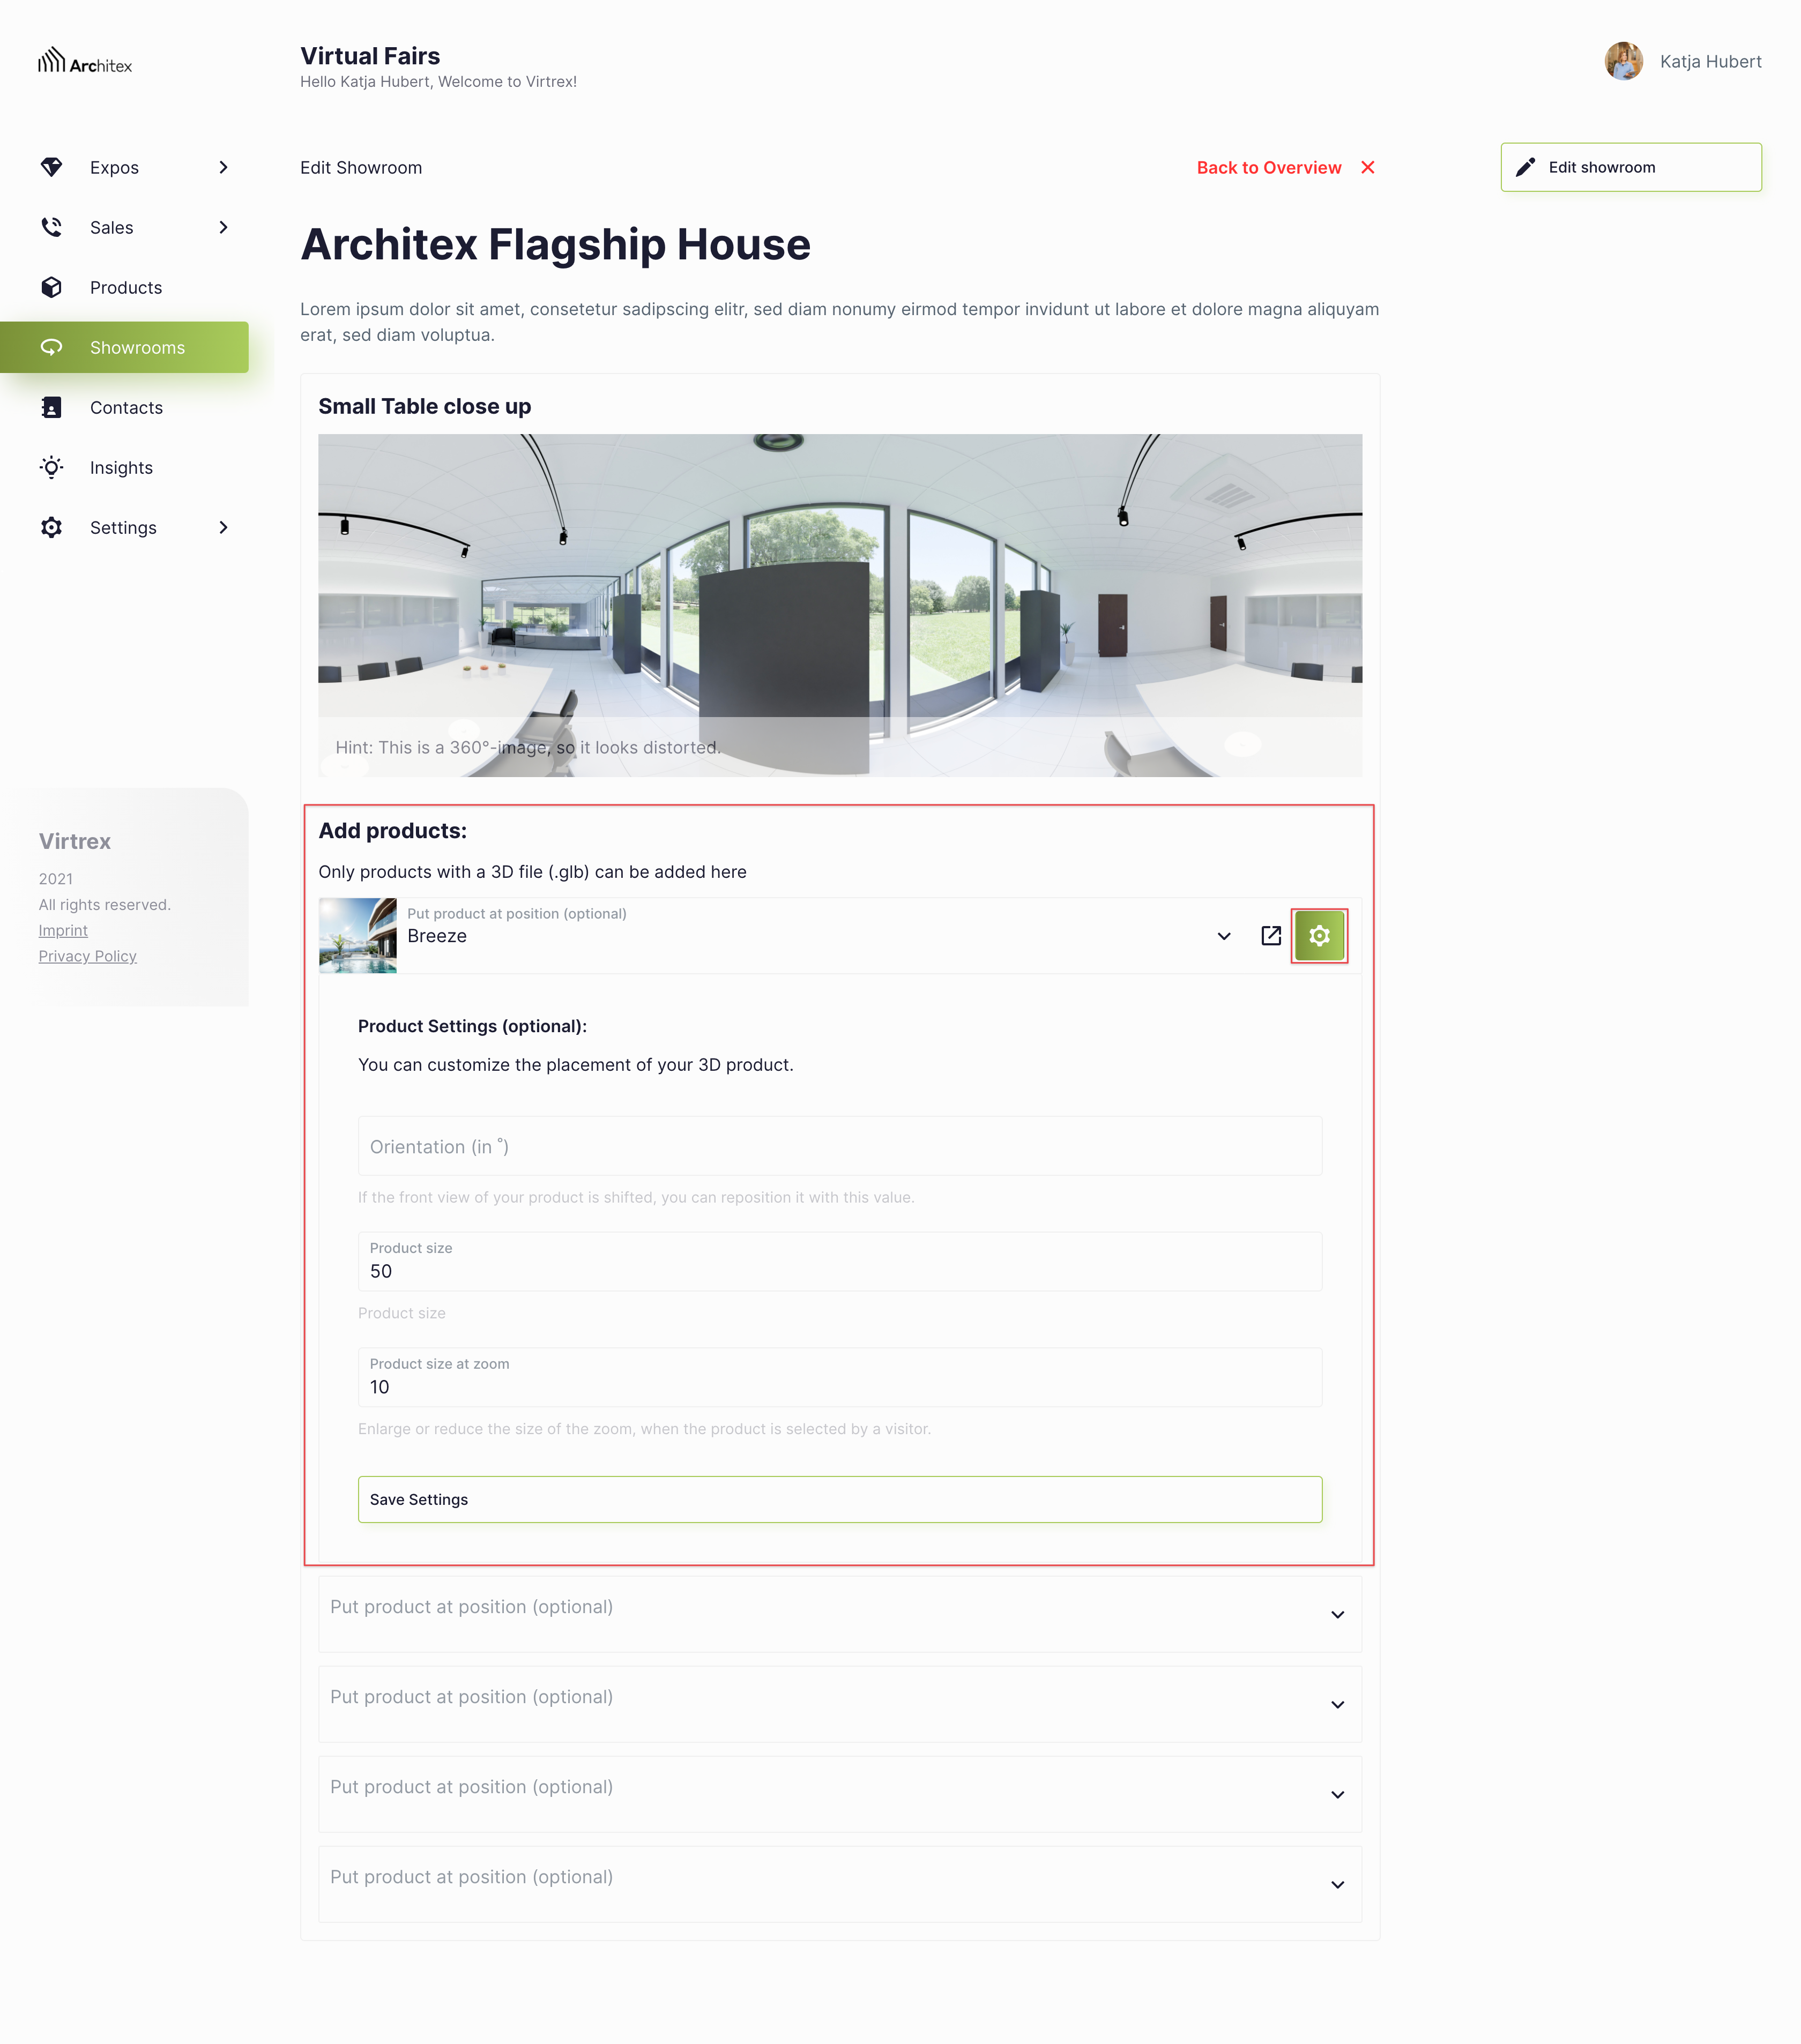
Image 3: Here you see how to edit your product settings.
Good to know: If your showroom does not load, or only a black surface is displayed, we recommend reducing the size of the product.